Comic Speech Bubble Generator
Letter your pages the way a studio does
Lettering is not an afterthought you bolt on in a design app — it is part of the page. YarnSaga puts the balloon editor on the same canvas as your art: drop a speech balloon, a cloud thought bubble, a spiky shout box or a narration caption straight onto the panel, type the line, and aim the tail at the speaker. Text auto-fits the shape so dialogue stays legible at reading size. Works the same on comic, manga, webtoon and anime panels.
- Speech balloons, thought bubbles, narration captions and SFX/shout boxes
- Text auto-fits the balloon and stays readable at screen and print sizes
- One editor across comic, manga, webtoon and anime page layouts
Made with YarnSaga
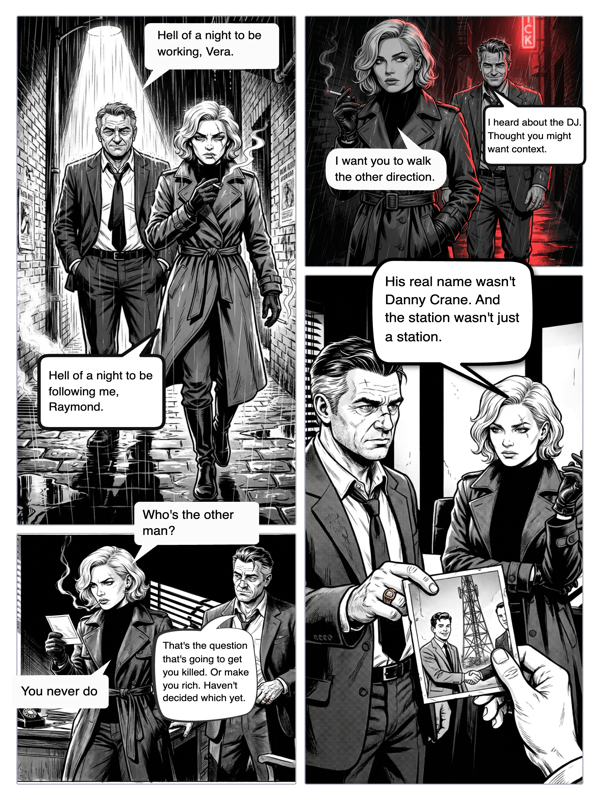
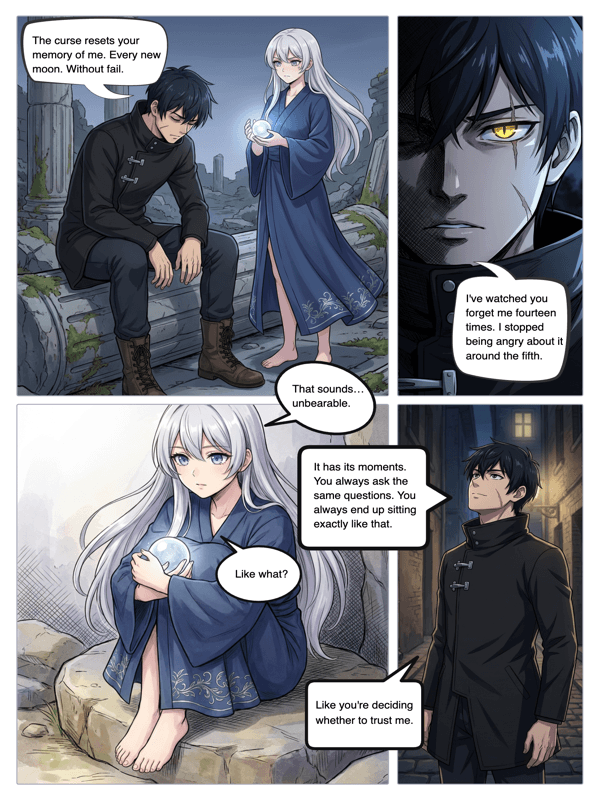
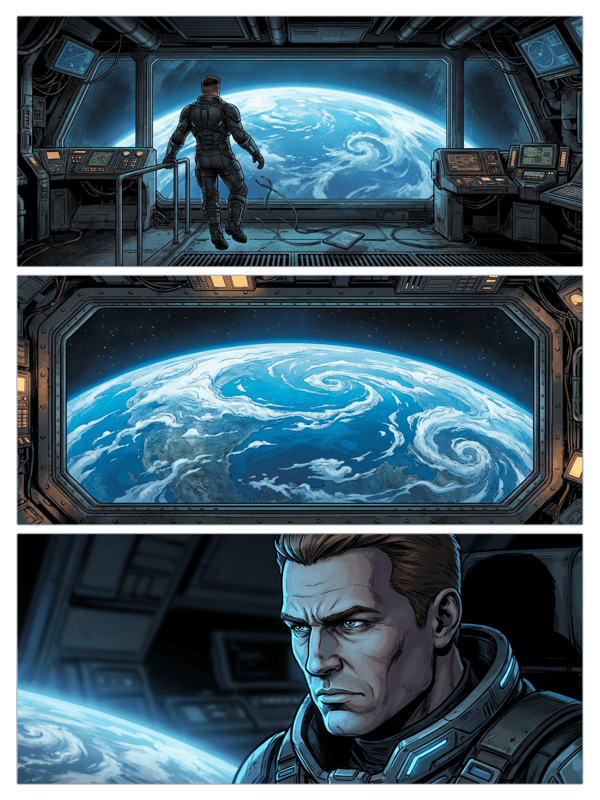
Real output from YarnSaga — characters stay consistent across every panel
How it works
Open the page
Work on a panel you generated in YarnSaga, or bring your own artwork onto the canvas.
Place the balloon
Choose the shape the moment calls for — a round speech balloon for dialogue, a cloud for interior thought, a jagged box for a shout or sound effect, a rectangular caption for narration.
Set the line and the tail
Type the dialogue and the text fits itself to the shape. Aim the tail at the speaker, or drop it entirely for narration. Reposition anything at any point — the art underneath is never touched.
What you get
The full balloon vocabulary
Round speech balloons, cloud thought balloons, jagged shout and SFX boxes, and rectangular narration captions — the same set a letterer works with on a printed page.
Tail control
Point the tail at whoever is speaking, flip it across the balloon, or remove it for narration and off-panel voice.
Typography that fits itself
Text sizes itself to the balloon instead of overflowing it, so a long line never breaks the shape or drops below reading size.
Manga and webtoon aware
The same editor handles right-to-left manga panels and vertical-scroll webtoon pages, so lettering does not fight the format.
Non-destructive layers
Balloons sit on their own layer above the art. Rewrite a line on page 40 without regenerating or re-exporting the panel.
Baked into every export
Lettering renders into the exported image and the published comic — no compositing step, no second file to reconcile.
Who uses this
Comic and graphic novel authors
Letter a full book in the same place you build it, with dialogue that stays editable through every revision.
Manga and webtoon creators
Balloon placement that respects vertical-scroll pacing and right-to-left reading order.
Illustrators and studios
Bring finished artwork onto the canvas and letter it without a round trip through Photoshop or a separate lettering tool.
Common questions
What kinds of speech bubbles can I add?
Classic round speech balloons for dialogue, cloud-shaped thought balloons for interior monologue, jagged shout balloons for yelling and sound effects, and rectangular caption boxes for narration. You pick the shape, place it on the panel, and type.
What is the difference between a speech balloon and a caption box?
A speech balloon is the rounded shape with a tail pointing at whoever is talking — it carries spoken dialogue. A caption box is rectangular and tailless, used for narration, scene-setting, or a narrator's voice. YarnSaga includes both, plus cloud thought balloons and jagged shout/SFX boxes.
Can I point the tail at a specific character?
Yes. Every speech balloon has a tail you can drag and aim at the speaker. Flip it to the other side of the balloon, or remove it entirely for narration and off-panel dialogue.
Does it handle manga and webtoon lettering?
Yes. The same balloon editor works across every art style and page format — right-to-left manga panels, vertical-scroll webtoon pages, and standard Western comic grids. Balloon placement and reading order follow the format you are working in.
Can I letter artwork I made elsewhere?
Yes. Upload your own illustration, page scan, or anime-style panel to the canvas and letter it exactly as you would an AI-generated panel.
Will long dialogue break the balloon?
No. Text fits itself to the balloon shape rather than overflowing it, so a long line shrinks to fit instead of spilling past the outline or dropping below a readable size.
Do bubbles stay editable after I place them?
Yes. Balloons live on their own layer above the art, so you can move them, reshape them, or rewrite the dialogue at any point without regenerating or altering the panel underneath.
Do I need separate lettering software?
No. Lettering happens on the same canvas as the art and bakes into every export and published page, so there is no round trip to a design app and no separate file to merge back in.
Ready to make your comic?
Credit packs from $6, no subscription. No drawing skills needed. Your characters stay consistent — automatically.
Start creating